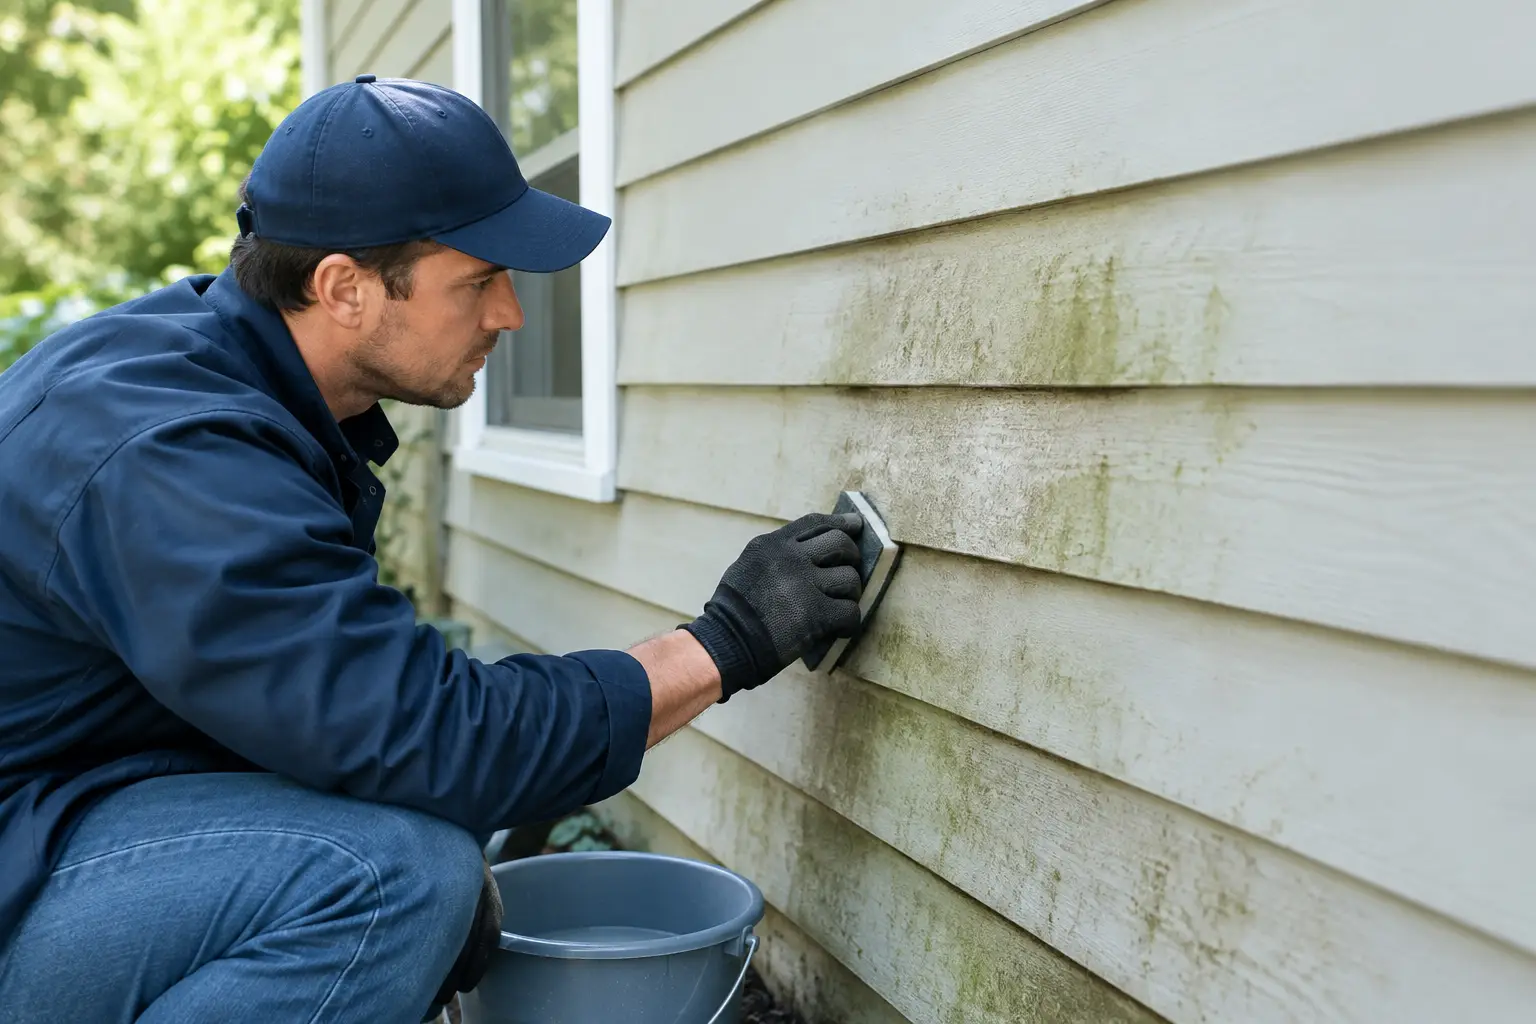
A soft spot beside a window, peeling paint near the foundation, or a board that looks slightly swollen can be more than a cosmetic issue. Homeowners often search for how restore water damaged siding after a long Kitsap County rain season, but the visible damage is only part of the job. Water usually enters through a failed joint, flashing detail, roof edge, window trim, or ground-level splashback – then works behind the siding where it can damage sheathing, insulation, and framing.
The right repair protects the house from the source of the leak first. Painting over wet, soft, or deteriorated siding may improve its appearance for a short time, but it will not stop rot from spreading. A careful inspection and a properly built repair can save a small siding problem from becoming a much larger exterior restoration project.
Start by Finding Where the Water Is Coming From
Siding rarely fails on its own. In Western Washington, repeated wind-driven rain can expose weak points that stayed hidden during drier months. Before removing a single board, inspect the areas above and around the damage.
Check gutters and downspouts for overflow, especially where they discharge near siding or a deck. Look at roof-to-wall intersections, window and door trim, exterior light fixtures, hose bibs, and deck ledger connections. Cracked caulk, missing flashing, improperly lapped siding, and branches that keep a wall damp are all common causes.
Water can also come from below. Soil or mulch piled against siding holds moisture where it does not belong. Most siding needs adequate clearance above grade, concrete walks, decks, and roofs. If the bottom edge stays wet after rain, the problem may be drainage or clearance rather than a hole higher on the wall.
Do not assume the damaged spot marks the entry point. Water often travels along framing or the back side of the siding before it becomes visible. The area that looks worst may be several feet below the actual leak.
How to Restore Water-Damaged Siding Without Trapping Moisture
Restoring water-damaged siding begins with determining how deep the damage goes. A solid board with minor staining or failed paint may be repairable. Wood that feels soft, flakes apart, bows outward, or allows a screwdriver to sink in needs more than surface treatment.
For a small, localized repair, carefully remove the affected siding and trim without damaging the neighboring pieces. Once the exterior covering is off, inspect the building paper or weather-resistive barrier, wall sheathing, insulation, and exposed framing. Everything must be dry and structurally sound before new materials go back on.
If the sheathing is stained but firm and dry, it may only need cleaning and drying time. If it is soft, delaminated, or crumbling, it should be replaced. Any compromised framing should be evaluated and repaired before siding is installed. This is the step that protects the structural integrity of the wall, and it is not one to skip for the sake of a faster repair.
After the wall is repaired, install compatible flashing and a properly integrated weather barrier. New siding must overlap and shed water in the right direction. Caulk belongs at selected joints and trim transitions, not across drainage paths or siding laps designed to let moisture escape. Then prime exposed wood, install the replacement siding, and finish with a quality exterior paint or stain system suited to the material.
The exact process depends on the siding type. Wood siding can often be repaired in sections if surrounding boards are sound. Fiber cement may crack or break during removal and requires correct fasteners and clearances. Vinyl can hide moisture damage behind panels, so the wall behind it deserves close attention. Engineered wood products may require replacement when swelling or edge deterioration is present.
Signs the Problem Has Moved Behind the Siding
A small stain can sometimes be a straightforward maintenance repair. These signs suggest water has likely reached the wall assembly and a more thorough inspection is needed:
- Soft, spongy, warped, or split siding boards
- Bubbling paint, recurring peeling, or dark discoloration that returns after repainting
- Loose trim, gaps around windows, or rusted fasteners
- A musty odor indoors, water marks on drywall, or visible mold near an exterior wall
- Insect activity, especially where wood stays damp or deteriorated
It is also worth checking the inside of the home. Look for staining around window corners, baseboards, and ceilings near the affected wall. If there is an active leak, electrical components nearby, widespread mold, or a wall that feels unstable, stop the DIY work and call a qualified contractor promptly.
When a Repair Is Enough and When Replacement Makes More Sense
A targeted repair is usually the practical choice when the damage is limited to a few boards and the sheathing, framing, and weather barrier remain in good condition. It is less disruptive, preserves sound material, and can restore the home’s appearance when the existing siding can be matched.
Replacement becomes the better investment when rot appears in multiple areas, the siding is near the end of its service life, or repeated repairs are addressing the same moisture issue. Matching older siding can be difficult, especially after years of sun exposure and repainting. In that situation, replacing a full wall or a larger section may provide a cleaner result and allow the installer to correct hidden flashing and drainage problems throughout the area.
For rental properties and managed buildings, it is wise to document the source of the leak, the conditions found behind the siding, and the repairs completed. Good records help owners plan future maintenance and show that the issue was addressed properly rather than covered up.
Avoid the Quick Fixes That Create Bigger Repairs
Exterior paint, caulk, and wood filler all have their place, but none should be used to hide active moisture damage. Filling a rotten board can leave decay behind the surface. Caulking every seam can trap water that should drain. Installing new siding over damaged sheathing may make the wall look better while allowing the underlying problem to continue.
Pressure washing also deserves caution. High pressure can force water behind siding, strip protective coatings, and damage older wood or fiber cement. If siding needs cleaning before repairs or repainting, use an approach appropriate for the material and keep water directed downward, never up under laps.
Timing matters in the Pacific Northwest. Dry weather is helpful, but professionals can often protect and repair a wall during much of the year by using proper temporary weather protection, moisture checks, and scheduling. Waiting too long because the weather is imperfect can allow a known leak to cause more damage.
Protect the Repair for the Long Term
Once the wall is restored, regular exterior maintenance helps the repair last. Keep gutters clear, make sure downspouts move water away from the home, trim vegetation back from walls, and inspect caulked trim joints annually. Pay close attention after major storms and before the wet season begins.
A professional inspection is especially valuable around windows, doors, decks, chimneys, and additions, where several materials meet and flashing details matter most. These transitions are where water management either works or fails.
Kitsap Maintenance helps homeowners, landlords, and property managers identify the cause of siding and rot damage, complete the needed repairs, and protect the surrounding exterior work. Whether the issue is one failed board or a wall that needs deeper restoration, the goal should be the same: a dry, solid wall built to handle the next stretch of Washington weather.
If you can see water damage now, treat it as useful warning rather than a cosmetic annoyance. Addressing the source early gives you more repair options, protects your home’s value, and keeps a small exterior issue from becoming a hidden structural problem.
Leave a Reply