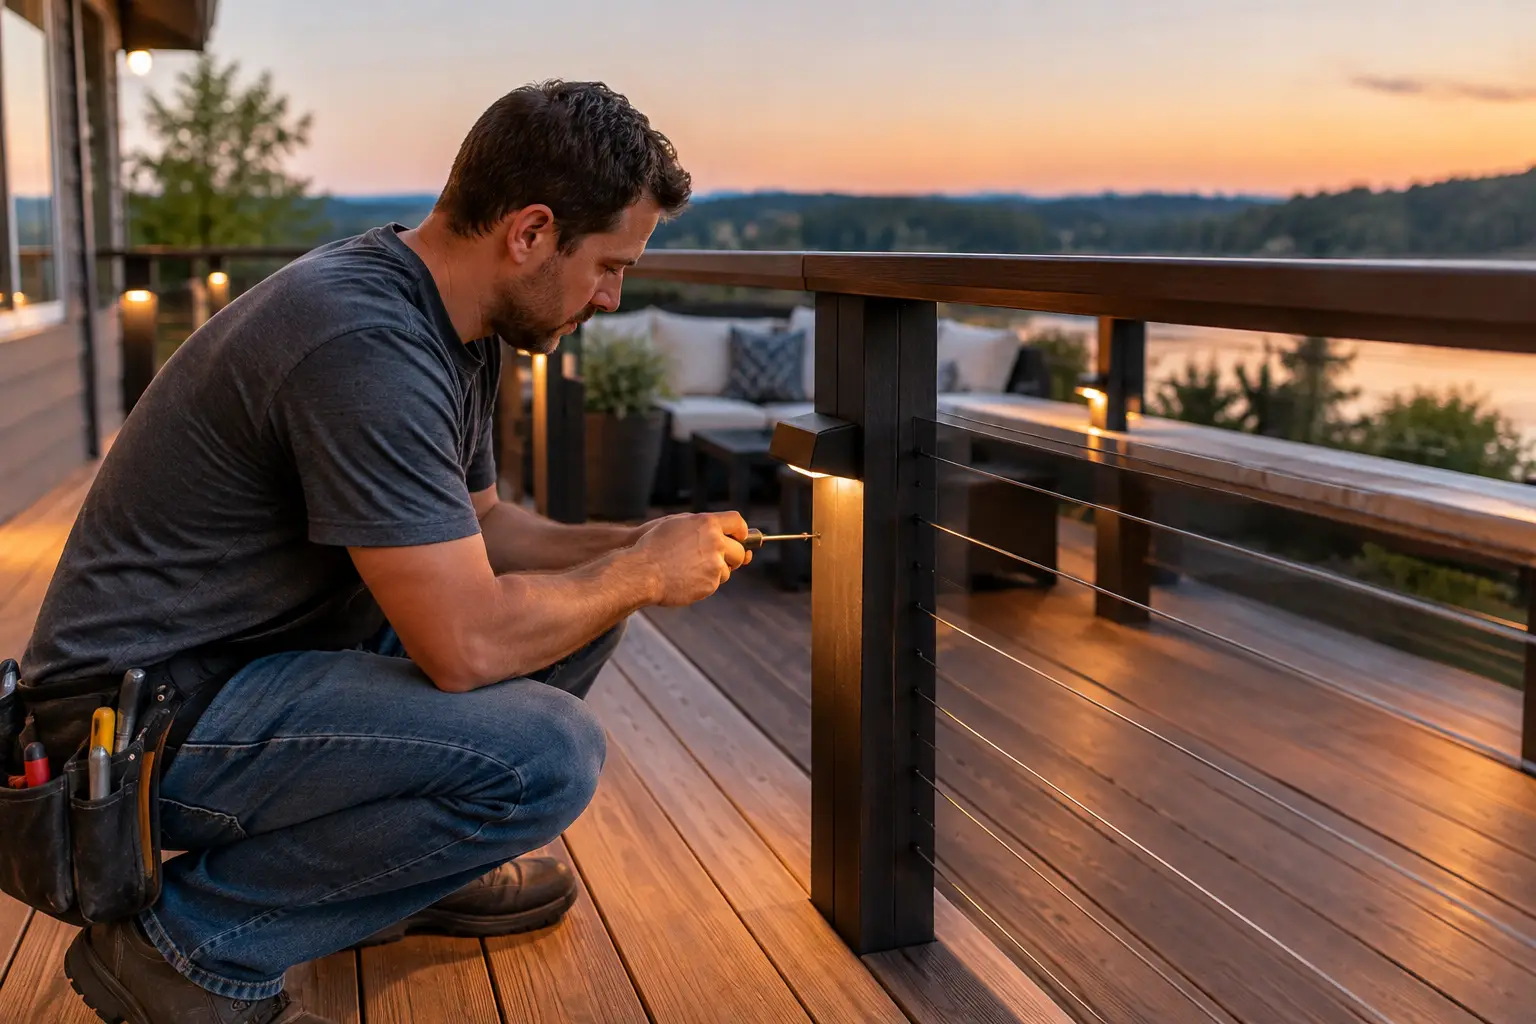
A deck can look finished in daylight and still feel incomplete after sunset. Well-planned lighting changes that. It makes stairways easier to see, defines the edge of the deck, and lets you use your outdoor space on the long, damp evenings common in Kitsap and Mason Counties. If you are asking how to install deck lighting, start with a plan that puts safety, weather resistance, and serviceability ahead of decorative extras.
Deck lighting is not one-size-fits-all. A small entry deck may only need a few step lights and a switch near the door. A larger Trex or Azek deck might benefit from low-voltage post-cap lights, recessed riser lights, and a few carefully aimed fixtures near a seating or grilling area. The right layout should feel useful first and attractive second.
Start With a Lighting Plan, Not a Box of Fixtures
Walk your deck at night with a flashlight and identify the places where light will make the biggest difference. Focus on every change in elevation, stair run, doorway, gate, and transition from the deck to the yard. These are the areas where a missed step can become a real safety issue.
Then decide what you want the lighting to accomplish. Step and riser lights improve footing. Post-cap lights outline the railing perimeter. Recessed deck lights can create a clean, modern look along borders or benches, but they need careful spacing so the surface does not look dotted with bright hot spots. Downward-facing rail lights provide useful ambient light without shining into a neighbor’s yard.
Avoid trying to light every square foot. Too many fixtures can make a deck feel harsh, create glare, and add unnecessary wiring connections. Low, indirect light is usually more comfortable outdoors. It also gives your deck a more polished appearance than a few overly bright flood-style fixtures.
Before buying fixtures, sketch the deck and mark the location of each light, transformer, switch, and wire route. Measure the wire runs. This simple step prevents one of the most common installation problems: purchasing a transformer that cannot supply enough power to the fixtures at the far end of the deck.
Choose Fixtures Built for a Pacific Northwest Deck
Outdoor lighting around Puget Sound deals with rain, moisture, salt air in some waterfront locations, and long periods of low light. Indoor-rated hardware or inexpensive fixtures with weak seals often fail early. Choose fixtures rated for wet locations and made from materials that resist corrosion, such as powder-coated aluminum, stainless steel, brass, or durable composite-compatible polymers.
LED fixtures are the practical choice for most decks. They use less energy, run cooler, and generally last much longer than older incandescent options. Warm white light, often in the 2700K to 3000K range, tends to look more inviting on wood and composite decking than a cool blue-white light.
Low-voltage systems are popular because they are efficient and safer to work with than line-voltage wiring. They use a transformer to reduce standard household power to a lower voltage, commonly 12 volts. That does not mean installation is risk-free, but it does make low-voltage lighting a sensible fit for many deck projects.
Solar lights can be useful in a few spots, but they are rarely the best primary lighting system in Western Washington. Short winter days, tree cover, and frequent clouds can leave solar fixtures dim or inconsistent. If reliable light matters for stairs and pathways, hardwired low-voltage lighting is the stronger long-term option.
How to Install Deck Lighting Safely
Start by confirming how the system will receive power. A low-voltage transformer needs a properly protected outdoor receptacle, typically one with GFCI protection. If a new outlet, circuit, or line-voltage connection is needed, coordinate that work with a qualified electrician. Electrical requirements vary by location, and permits may apply depending on the scope of the work.
Mount the transformer in a dry, accessible location close enough to the power source and high enough to stay clear of standing water. Do not hide it behind permanent skirting or place it where it will be difficult to inspect later. Many homeowners prefer a location beneath the deck near an exterior outlet, provided it remains protected and reachable.
Install each fixture according to the manufacturer’s template and clearance instructions. For stair lights, mounting them on the riser is often safer than setting lights into the tread, where dirt, water, and foot traffic can collect. For post-cap lights, make sure the cap design fits the exact dimensions of your railing posts before drilling any holes.
Run low-voltage cable neatly along framing members or beneath the deck where it will not be pinched, scraped, or exposed to lawn equipment. Use approved clips or fasteners that will not damage the wire insulation. Keep wiring away from sharp metal edges and moving gates. Where cable must cross an exposed area, protect it in conduit or route it through a safer concealed path.
Make all connections with connectors listed for direct burial or wet locations, even when the wiring is under a covered deck. Moisture finds its way into poorly sealed connections, and a single corroded splice can cause flickering or a complete lighting failure. Leave a little slack near fixtures so future repairs do not require replacing a full wire run.
Before permanently fastening cables and closing up any access points, test every light. Turn the system on after dark and look for uneven brightness, glare, or fixtures that are not working. A voltage drop can make lights at the end of a long run look dimmer than the ones closest to the transformer. If that happens, you may need a larger cable gauge, a higher-capacity transformer, or separate wire runs.
Calculate Power Before You Install
Add the wattage of every fixture and compare it with the transformer’s rated capacity. For example, ten 3-watt LED lights require 30 watts. Do not select a 30-watt transformer for that layout. Leave room for startup demand, future additions, and more dependable performance. A transformer loaded to roughly 70 to 80 percent of its capacity is a practical target.
Cable length and wire gauge matter, too. The farther electricity has to travel, the more voltage can be lost along the way. Larger decks often need heavier-gauge cable or a hub-style layout that sends separate runs to different areas. This is where a lighting plan earns its keep. Adding lights after the deck is finished can be more involved, especially when the underside is enclosed.
If your deck is being built or resurfaced, install the conduit, wire routes, and mounting provisions during construction. It keeps wiring concealed, protects the finished materials, and avoids reopening composite boards or railing sections later.
Common Deck Lighting Mistakes to Avoid
The biggest mistake is treating lighting as an afterthought. A deck that is already complete can still be lit well, but the work may require more visible wiring and more labor than a preplanned system.
Another problem is placing lights where they shine directly into people’s eyes. Step lights should cast light down across the tread, not out at face level. Rail lights should be shielded and aimed toward the walking surface. Bright fixtures near a dining table can also attract attention for the wrong reasons, including bugs.
Do not mix random fixture styles and color temperatures. A coordinated system looks intentional and makes replacement parts easier to source later. It is also wise to choose fixtures with accessible lenses, drivers, or bulbs when possible. Decorative lights that cannot be serviced may need full replacement after a small component fails.
Finally, do not drill through structural framing, waterproof membranes, or composite decking without checking the manufacturer’s guidance. Trex, Azek, and other composite products have specific installation requirements. The wrong fastener, oversized hole, or poorly sealed penetration can affect the finish and may create a place for water to collect.
When Professional Installation Is Worth It
A straightforward low-voltage kit can be a manageable homeowner project when the deck is open underneath, an outdoor GFCI outlet is already available, and the layout is modest. The project becomes more complex when it involves new electrical circuits, integrated railing lighting, concealed wiring in a finished ceiling, multiple zones, or a large deck with long cable runs.
Professional planning is also valuable when the deck needs repairs before lights are added. Loose rails, rot-damaged framing, unstable stairs, and aging footings should be addressed before investing in finish details. Kitsap Maintenance can help homeowners coordinate deck repairs, upgrades, and lighting-ready construction so the finished space is built to be used, not just looked at.
A well-lit deck should make the trip outside feel easy: the steps are clear, the railing line is visible, and the light is warm enough to stay awhile. Plan it carefully, use weather-ready materials, and give every connection the same attention you would give the deck itself.
Leave a Reply